How to Grow Indoor Weed for Beginners
We all love consuming cannabis, so why not learn how to grow it? Here we will be giving you the basic steps to take to successfully grow your own weed. - Written by: Kim Carreño
We all love consuming cannabis, so why not learn how to grow it? Here we will be giving you the basic steps to take to successfully grow your own weed. First things first, you need to determine whether you prefer an indoor or outdoor grow. Once that is decided, you will know which route to take from the following suggestions.
One thing to take into consideration before starting this process is that growing cannabis can be both rewarding and challenging at the same time, so don't be too hard on yourself if things don’t turn out right on the first go. Remember to be patient with the process and yourself.
Indoor Grow
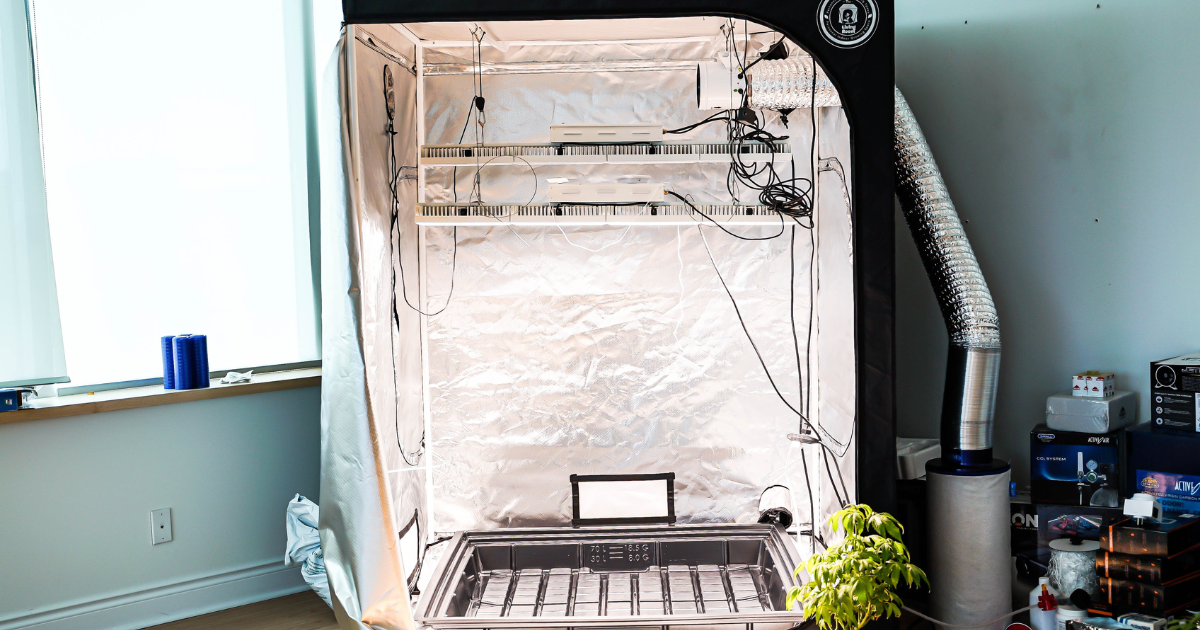
The first thing you need to do is get a dedicated space or grow tent to protect your investment. Ideally, if not in a tent, it would be best in a room where it can be set up near a window. The reason for this is to ensure you can vent air from the grow space to the outside. Make sure to do the adjustments at the starting point because later on, you will no longer be able to move things around.
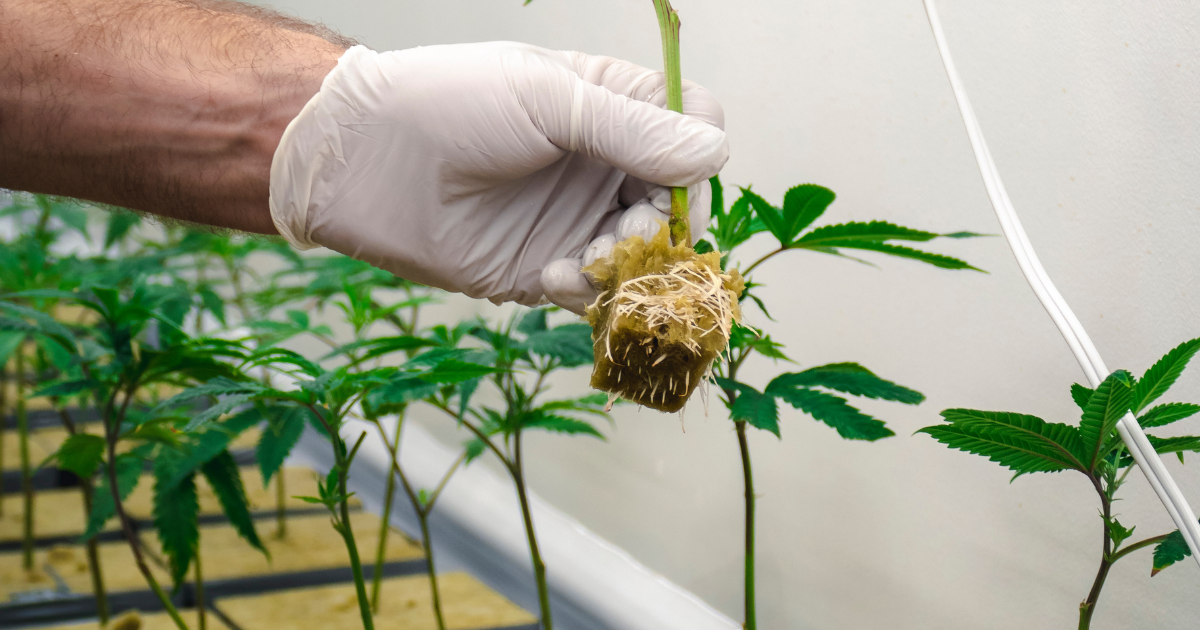
It's a good idea to consider starting smaller and working your way up to a bigger grow. It will be less expensive to set up and less costly if things don’t go according to plan. We suggest starting from a clone stage using Purple City Genetics clones that you can find here at March and Ash. However, some people like to start with seeds, which are also available on occasion as they are in high demand. The choice is yours.
Next, we want to simulate the desired climate. When you’re growing outdoors, mother nature dictates the climate, but when you are growing indoors, you take on that role. Controlling the climate is an essential part of the process and involves regulating the temperature, humidity, and airflow. Different stages require different temperatures, but we will be going from the clone stage.
During the clone stage, you will want to keep temperatures between 72 and 78 degrees Fahrenheit, with humidity at 50 to 55 percent. Lowering humidity can discourage fungal growth. The CO2 concentration should be between 1,200 and 1,500 parts per million (ppm).
Here are a few things you will need:
- Clones
- Lights
- Ventilation
- Containers
- Reservoir
- Growing Mediums (soil mix)
- Nutrients
- Water
- Timers
Set Up
First, you will want to tackle the setup. Whether you’re doing a room or a tent, you will need to get a designated space that will accommodate your plant's growth in height and width and still be able to hang a grow light far enough above it to prevent it from burning the plant. You will need to ensure you have a light-sealed room. In other words, no outside light should be able to penetrate. It should always be pitch black.
You will need a room with either white walls or reflective interior walls. If the walls are not as such, they will only be absorbing light and not reflecting it, which in turn wastes the light and can be more costly to your electricity bill. Ideally, you want the room to reflect all the light so the plants can absorb it. That is why it's usually recommended to start with a grow tent when growing indoors as it has reflective walls and can simplify the process.
Next, you will need to set up a floor drain or waterproof tray with a drip. The purpose of this is to ensure that the water that may drain from the plants has a landing space and can be easily cleaned if necessary. You will also need to set up openings for ventilation fans, and the space you’re utilizing needs to have at least two openings. Typically the openings are placed on opposite sides of each other - one should be at the bottom and the other on its counterpoint above.
Outlets should be accessible or nearby so that plugging in the fans, ventilation, and power cords is easy. Depending on the set up you will need a type of frame near the top for hanging the grow lights and ventilation. It has to be sturdy enough to handle the weight of the HID lights and fans, so be sure to select a good quality frame.
Air Flow
When you grow outdoors, air will naturally circulate to the plants. When you grow indoors you will need to provide the proper ventilation and circulation that the plants will need to thrive. Ventilation will carry outside air into the room and stale air out, whereas circulation just moves the air around the room and doesn’t provide the plants with what they need.
Regulating the heat and humidity: Grow lights can increase humidity and exhaust fans pull the humidity and heat out, creating a sort of vacuum that pulls in cooler, drier air.
Delivering CO2 to the plants: The plants breathe in CO2 and breathe out oxygen. Without the proper ventilation, the CO2 is depleted and the plants can suffocate.
How to prevent Pests and Diseases: Humidity, warmth, and stagnant air can potentially provide an ideal environment for mold, fungi, and certain pests that can make your growing experience more challenging. Pulling in cool and drier air can eliminate this issue quickly. Having that breeze flowing through can discourage the infestation of small flying insects like gnats.
Strengthen stalks and stems: Cannabis plants can sense the breeze and can grow hardier as a result, which can provide more support for the buds during the flowering stage.
Plants require CO2 to survive - this is the symbiotic relationship plants have with animals. Animals breathe in O2 and exhale CO2, while plants do the opposite. There are several methods available for adding CO2 to a grow space. You can buy a tank of CO2 and simply pump it into a room or buy CO2 canisters that release gas slowly into the room over a course of time.
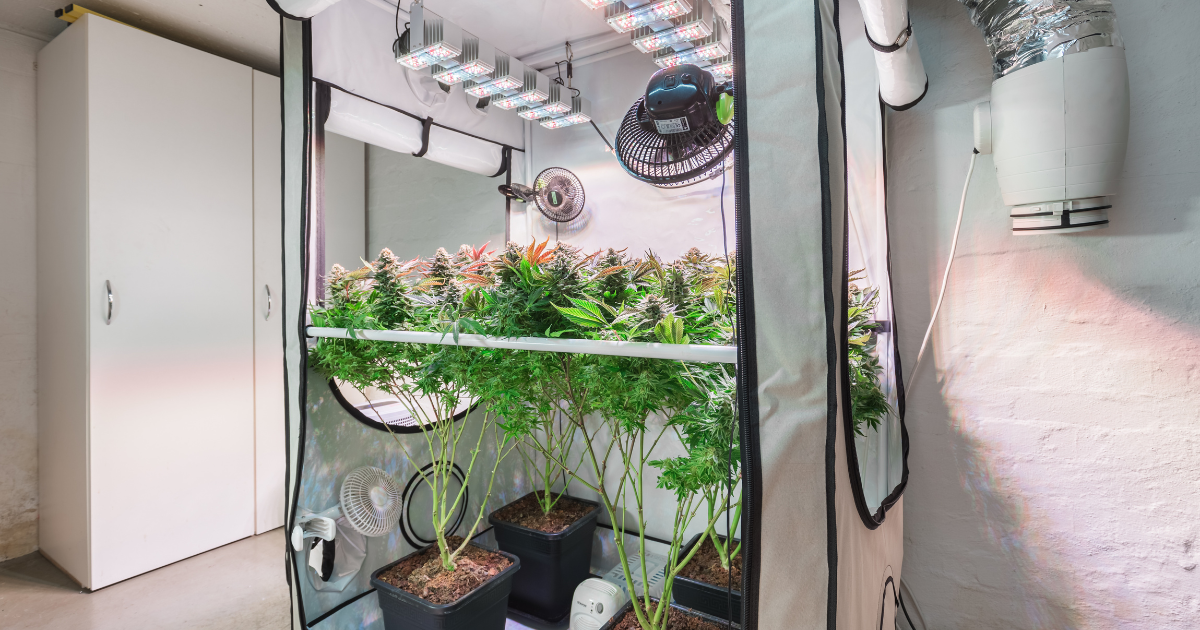
Ventilation
First, install one to two fans depending on the size of your grow space, followed by an exhaust fan, an intake fan, or both. If you want an active system, you will want to have an exhaust fan on one end and an intake fan on the other. As the exhaust fan pulls the air out of the room, the intake fan will push the air into the room.

Most common grow setups use in-line duct fans, which can be easily installed. Installation is as simple as connecting a duct pipe to a clothes dryer. The diameter of your duct fan must match the size of the existing holes. Six-inch fans are the most commonly purchased for this kind of setup. If you are utilizing a grow tent it should have the specific diameters on the manual. Follow the directions and purchase accordingly.
Your intake hole should be near the bottom of the tent or the room with the exhaust hole at the top. The reason for this is because heat naturally rises and having your setup this way will simplify the amount of attention you will need to pay to achieve cooler temperatures in the room. It is always good practice to keep an eye on it regardless.
Whether you use one or two fans, you should always purchase filters for the exhaust ducts. This can prevent bugs, mold spores, dust, and other contamination. Use as little duct pipe as necessary and run it as straight as possible. The longer it takes for the air to travel and the more the pipe bends, the less efficient airflow will occur.
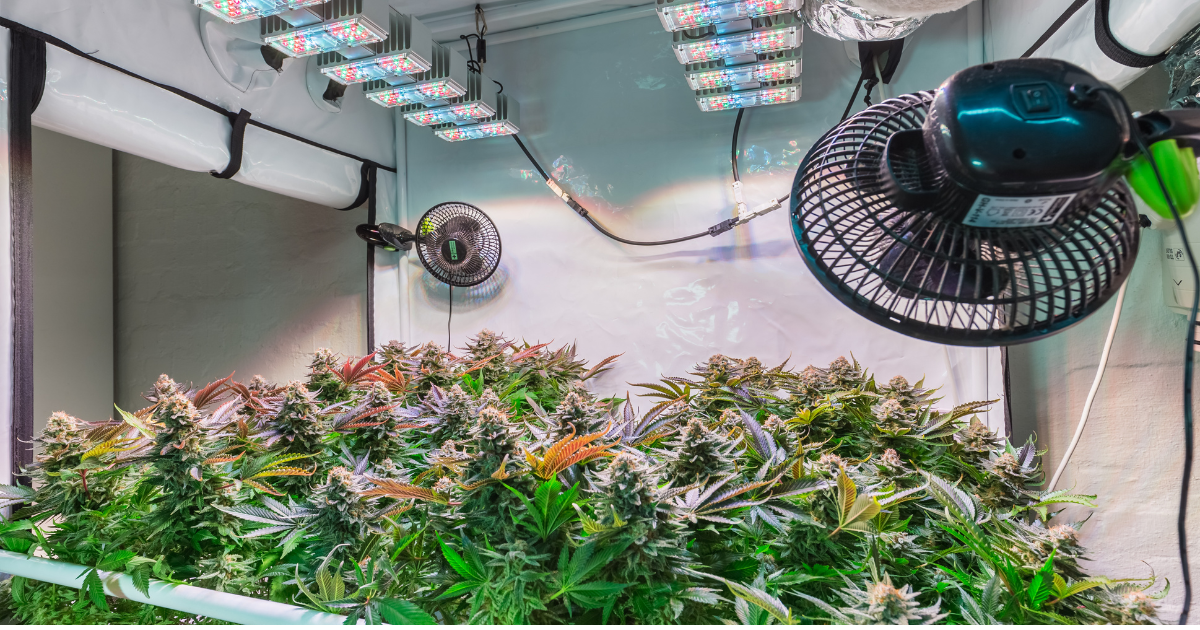
Setting-Up Grow Lights
Lighting is the most important factor to achieve a successful high-quality indoor grow. The types of lights, the way it's set up, and other factors that control and direct them are the key to the terpenes and yield you can achieve. You can purchase these lights and many other of the items listed above at Mighty Hydro. They have been around for a long time and can help guide you even further with some tips and tricks on how to grow cannabis.
When you arrive at Mighty Hydro, you can ask based on your setup choice what would be the best lighting for you. Usually, for a tent, you would use HID bulbs for lighting. These bulbs emit a lot of heat, and making sure to position them at a greater distance from the plants is key.
As the plants grow, the lights will need to be adjusted to ensure the right amount of distance between the lights and plants is met. However, if you decide to go small and try out one to three plants to get a feel for the process, some recommend using LED lights. This is one method among many suggestions we will make here.
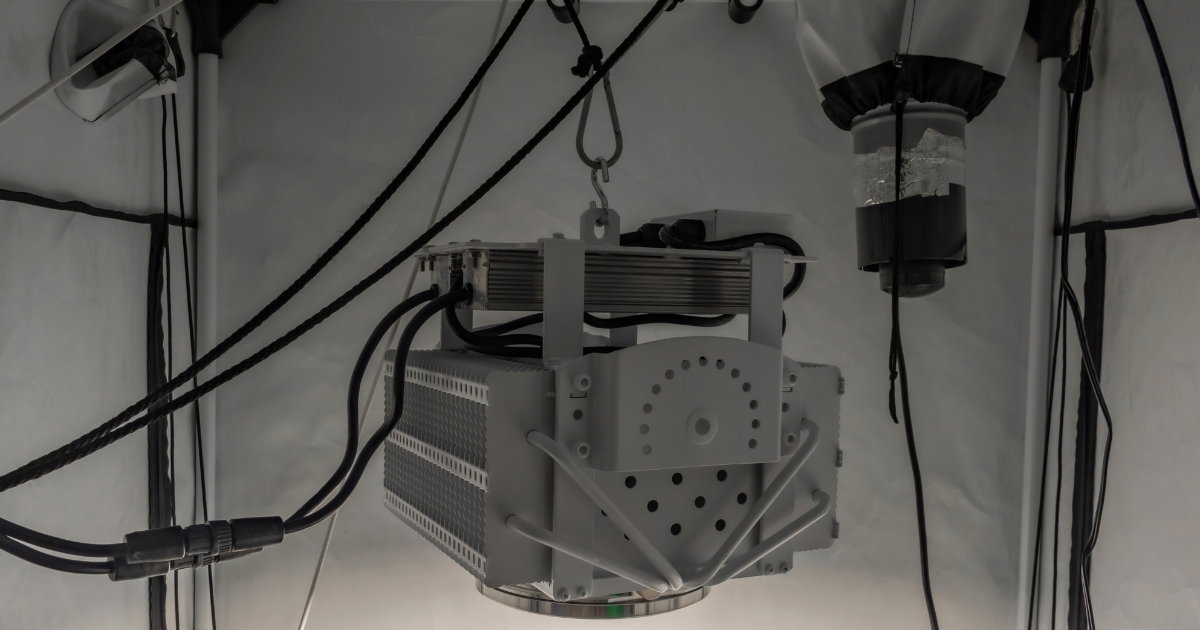
Once you have selected what type of lighting you would like to use, the next step is to get the fixtures for your bulbs. You will want to get a fixture that has a reflector hood so that it directs the light down into the plants.
There are many types of reflector hoods, such as closed hood, vented hood, wing, parabolic, ballast, timer, magnetic, and many more. What to select is based on how you choose to set up. Asking the crew over at Might Hydro would be the best option to ensure optimal results with your grow.
Timers
During the clone stage, the plants will require anywhere between 18 to 24 hours of light. During the bloom/flower stage, they will need 10 to 12 hours of light and a minimum of 12 hours of darkness. Putting your lights on a timer will make life easy and the process of managing the light/dark cycles a piece of cake.
The size of a full-grown plant is dependent upon and impacted by light, container size, and other environmental influencers such as CO2. You may have to go through several rounds of growing a particular cultivar to develop a clear idea of what the size will be and when the plant is ready to switch from the clone to the flowering stage and adjust the lights accordingly.
Watering and Fertilizing
You’ll need to decide whether you would like to use a system for watering and fertilizing or do it manually. When first starting we recommend doing it manually to get a better understanding of how much fresh water and fertilizer they will generally need. We know having an irrigation system sounds way easier, and that can be doable. However, if you go with this process, you will need to monitor the plants to be sure they are getting the right amount of water or nutrients.
Hydroponic System
All Hydroponic system setups will have you place the plants onto a tray that contains a grow medium other than soil. An example of this would be Vermiculite, Rockwool, or Coco coir. These various systems are then used to deliver water and nutrients to the roots.
Here are a few different methods you can use: Aeroponic: The plants will sit in a tray above a water or nutrient reservoir with their roots dangling below. The solution from the reservoir is then sprayed up onto the roots at regular intervals as the excess drips down into the reservoir.
Drip: Nutrient-rich water is dripped slowly at regular intervals into the grow medium where the roots can absorb it. Unused water drains back to the reservoir to be discarded.
Deep water culture: Plants sit in baskets above an aerated water/nutrient reservoir with their roots submerged in the solution, which allows for continuous feeding.
Ebb & flow: The plants will sit in pots in a grow tray. Nutrient-rich water is then pumped into the grow tray at regular intervals which then flows into holes at the bottom and sides of each pot. When the pumping stops, the water is then allowed to drain back into the reservoir from which it was pumped.
Keeping Your Grow Room Clean
I know this may sound a bit like mom telling you to keep your room clean, but we encourage you to stay on top of the cleanliness of the room you have selected to grow your cannabis. The reason for this is that a dirty room can provide an ideal environment for bacteria, fungi, and those nasty pests we don't want anywhere near our plants.
Here are some small tips to help you keep it clean:
-
After each use, wash and disinfect your plant containers, grow trays, irrigation hoses, and pumps. Use soap, water, and alcohol or even bleach ( one part bleach three parts water) then, carefully rinse everything with plain water.
-
Watch out for common pests like fungus, gnats, and spider mites. If you come across these make sure to get an effective pesticide to clear them out.
-
Keep your grow room clear of any dead plant matter or debris. This is where you can find many pests and pathogens that can get a foothold on your beautiful babies.
Harvesting your Plants
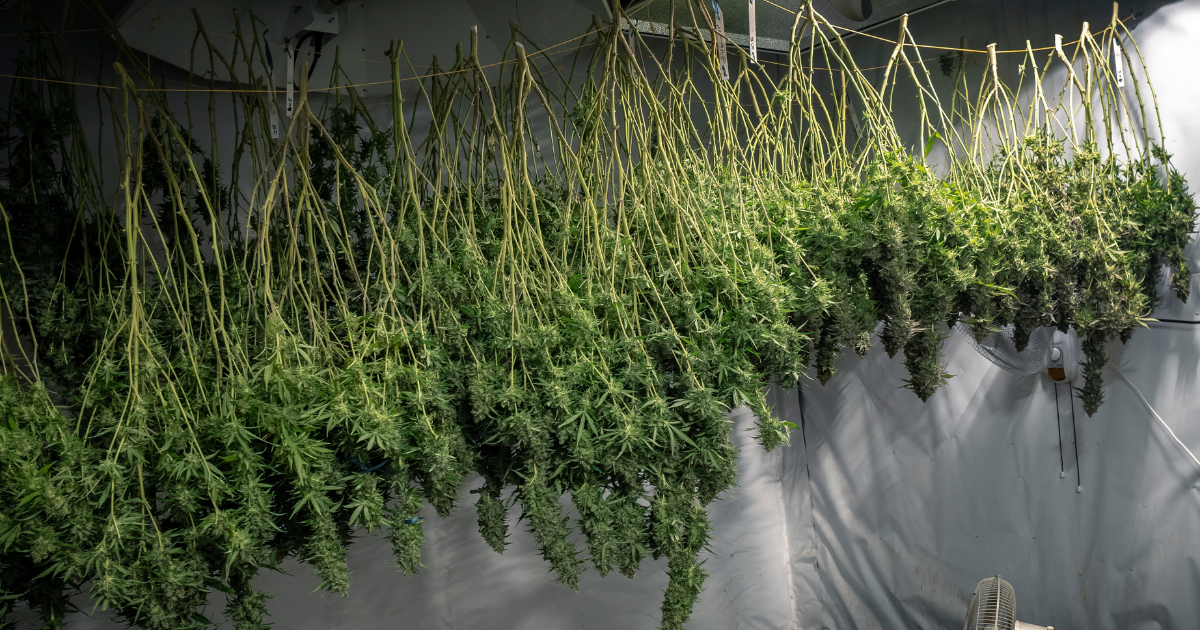
Once you have finished growing your plants, you will need to trim them by cutting them at the end of each major stem. Next, drying and curing is an essential part for the buds. These processes help preserve flavors by retaining terpenes and cannabinoids while getting rid of the vegetal taste of the plant.
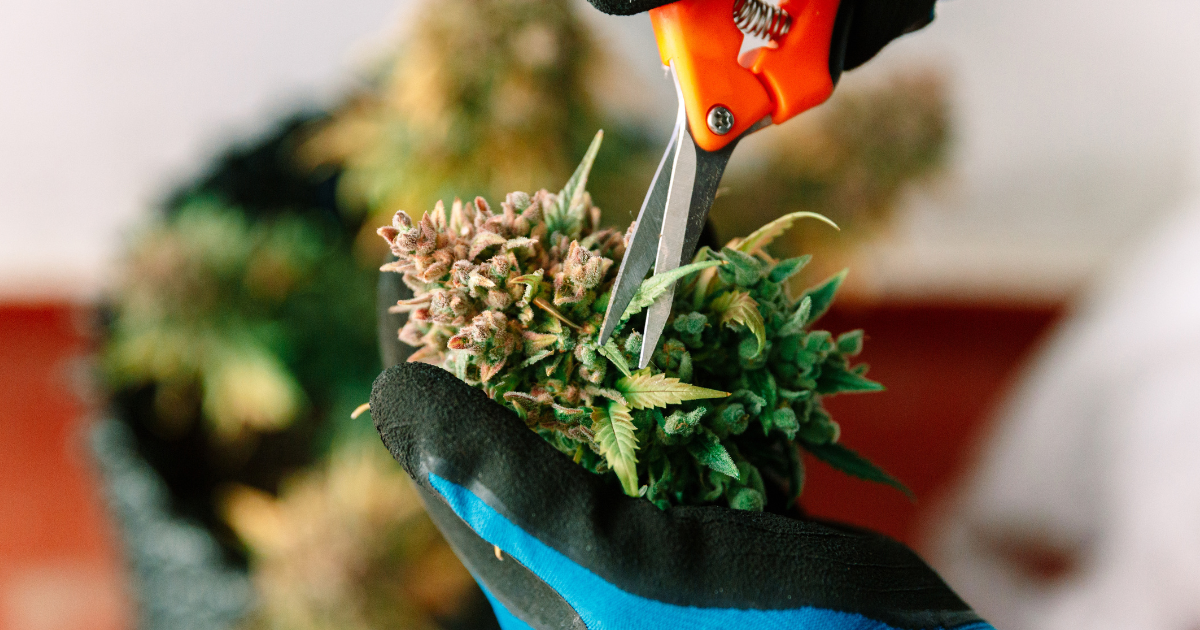
Trimming
Freshly harvested plants can lose anywhere from 60 to 75 percent of their weight to moisture loss as you trim off the stems, branches, and leaves. The drying process shouldn’t be too quick or too long.
Too quick and the outside of the buds will appear dry, but the insides could develop mold. It’s a very fine line so make sure you calculate correctly. The final step is to trim the buds and it’s ready to smoke!

DISCLAIMER: THIS SITE DOES NOT PROVIDE MEDICAL ADVICE.
All information, including but not limited to, text, graphics, images and other materials contained on this site are for informational purposes only. No text, graphics, images or other materials on this site are intended to be professional medical advice or a substitute for professional medical advice, diagnosis or treatment. Always seek the advice of your physician or other qualified health care provider with any questions you may have regarding a medical condition or treatment and before undertaking a new health care regimen, and never disregard professional medical advice or delay in seeking professional medical advice because of something you have viewed on this site.